Cracks don't stay small in Gatineau. A hairline fracture in September becomes a noticeable gap by April, thanks to freeze-thaw cycles that work like a hydraulic jack from the inside out. Catching them early — and filling them properly — is the most cost-effective thing you can do for your driveway. This checklist walks you through the whole process: when to act, how to inspect, what the different crack types mean, and where DIY filler runs out of road.
Why Crack Filling Is the Essential First Step
A lot of homeowners think about driveway maintenance in this order: seal it, then worry about cracks later. That's backwards. Sealcoat is a surface treatment — it protects intact asphalt from UV and water penetration. But if there are open cracks underneath, the sealer sits on top of them without actually bridging or stabilising them. Water still gets in from the sides. Freeze-thaw still does its damage. The seal just hides the problem for a season.
The correct order is always: fill cracks first, seal second. When crack filling is done properly, the filler material bonds to both sides of the crack, stays flexible through temperature swings, and creates a waterproof seal at the crack itself. Then the sealcoat goes over the top as the final protective layer.
In Hull, Aylmer, Buckingham, and across Gatineau, we see the same pattern every spring: driveways that were sealed without having cracks properly filled first. The sealcoat looks fine for the first summer, but by the following May those cracks are right back — often wider, and sometimes with small potholes starting to form alongside them.
The Homeowner's Crack Filling Checklist
Work through this checklist on a dry day when temperatures are above 10°C — ideally late May through September in Gatineau.
- Walk the full driveway in good light. Morning light at a low angle is ideal — it throws cracks into shadow and makes them far easier to spot than midday overhead light.
- Note every crack's width and pattern. Hairline, moderate, wide, or alligator — each type tells you something different about what's happening in the asphalt. See the guide below.
- Check the edges and seams. Where the driveway meets the garage apron, the curb, or the lawn — these joints move the most seasonally and open up first.
- Look for heaving or soft spots. Press down on the asphalt with your foot. Any flex or give means the base layer may be compromised — that's beyond crack filling territory.
- Check the surface colour. Grey, faded asphalt has lost most of its binder and is more brittle — new cracks will form faster. Note whether sealing is overdue alongside the crack work.
- Clear debris from every crack before filling. Loose aggregate, dirt, and vegetation must come out completely or the filler won't bond. A stiff brush and a hose work for most cracks; a pressure washer is better.
- Let it dry fully before applying any filler. Wet or damp crack walls prevent adhesion. In Gatineau's spring, allow at least 24 hours of dry weather after cleaning before filling.
- Match the filler type to the crack width. Hardware-store squeeze bottles work on hairline cracks only. Wider cracks need rubberised filler; structural cracks need hot-rubber compound. See below.
- Wait for filler to cure before sealing. Depending on temperature and product, this is typically 24–48 hours. Sealing over uncured filler traps solvents and causes the surface coat to bubble.
How to Identify Crack Types
Not every crack is the same problem. The width and pattern tells you a lot about what treatment is appropriate — and whether you're dealing with a surface issue or something deeper in the base.
Hairline cracks (under 3 mm wide)
These are the fine surface fractures that appear as the asphalt ages and the top layer dries out. They're cosmetic at this stage and don't indicate structural problems. A quality sealcoat applied correctly will bridge hairline cracks and prevent them from widening. If you're planning to seal anyway, hairline cracks alone don't require separate crack-filling treatment — the seal handles them.
Moderate cracks (3–10 mm wide)
These have opened enough that sealcoat won't bridge them reliably. Water channels in directly, finds the crack wall, and when it freezes in January, it forces the crack wider. These need a rubberised crack filler — the kind that stays pliable at –20°C rather than hardening and cracking itself in winter. Hardware-store liquid fillers are far too thin for cracks this size; they'll shrink as they cure and leave a gap.
Wide or structural cracks (over 10 mm)
A crack over a centimetre wide usually means there's been significant movement in the asphalt — from freeze-thaw heaving, tree roots, or base settlement. The right treatment here is hot-rubber crack filling: a heated, self-levelling rubber compound that flows into the full depth of the crack and bonds firmly to both walls. It expands and contracts with the asphalt rather than fighting it. This is not a DIY product — it requires specialist equipment and training to apply safely and correctly.
Alligator cracking (interconnected network pattern)
If cracks form a pattern resembling reptile scales — lots of small interconnected fractures across a section of the driveway — that's called alligator cracking, and it signals base failure rather than surface aging. The underlying granular base has shifted, settled, or been saturated repeatedly. Crack filling won't fix this; the failed section needs to be removed and the base rebuilt before new asphalt is laid. A professional assessment at this point can save you from investing in treatments that won't hold.
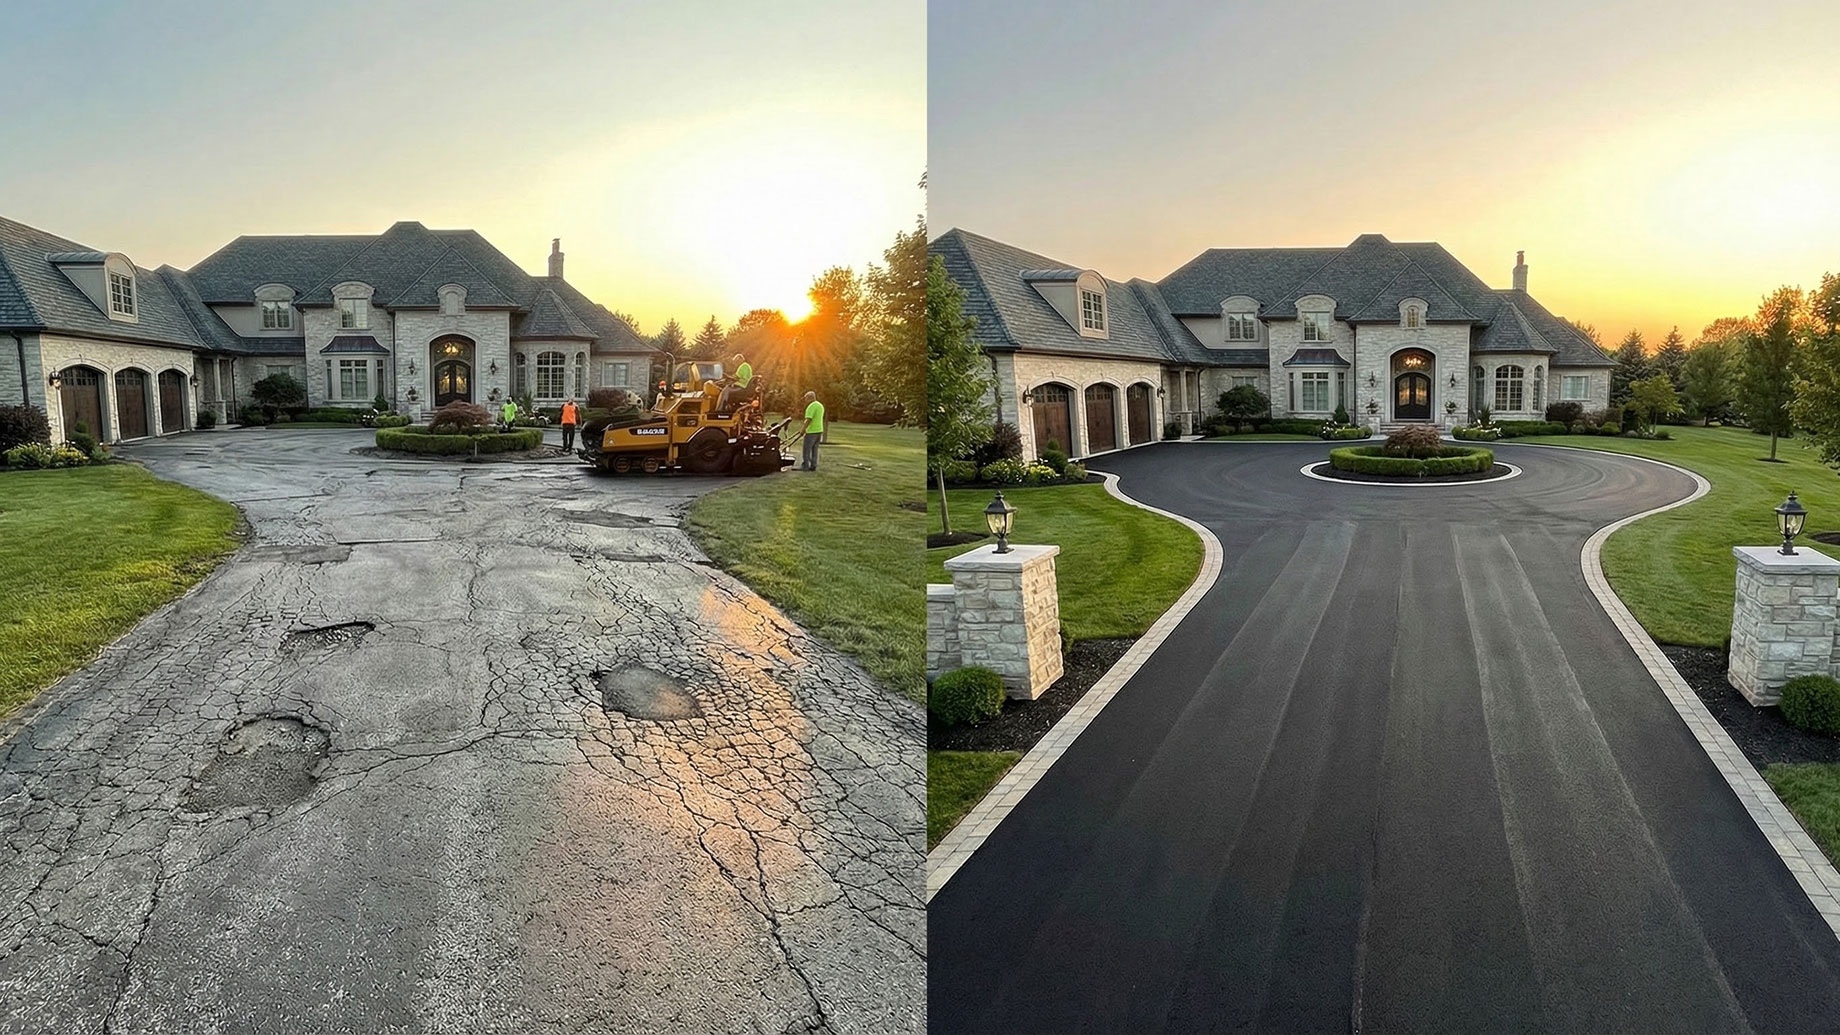
DIY Crack Filling: Where It Works, Where It Doesn't
What hardware-store fillers can actually do
The squeeze-bottle and pourable products at big-box stores are designed for hairline to small cracks — typically under 6 mm. They're asphalt emulsion or coal-tar based with high water content, and they're genuinely fine for that limited use case if you clean the crack first and let everything dry. The issue is that most homeowners use them on wider cracks where they lack the body to fill the depth, and they skip the cleaning step because it seems tedious. The result is a filler that's bridging the top of the crack without bonding to the walls, which fails in the first freeze.
The limits that matter in Gatineau specifically
Gatineau's winters are a real stress test for any filler product. With overnight temperatures regularly reaching –25°C and daytime thaws in February that can hit +4°C, the thermal cycling is relentless. Consumer-grade fillers tend to go brittle in deep cold and crack again within one season. Professional rubberised fillers and hot-rubber compounds are specifically formulated to remain flexible down to –30°C — the kind of performance you actually need in the Outaouais.
Why Crack Filling Pays Off Before Sealing
The economics here are straightforward. A typical crack filling job on a standard residential driveway in Aylmer, Hull, or Buckingham costs a fraction of what sealing the same driveway costs — and sealing costs a fraction of repaving. Every year you extend the life of your asphalt through proper crack maintenance is a year you're not writing a $6,000–$12,000 cheque for a full repave.
More specifically: sealcoat lasts 2–4 years. But if you seal over unfilled cracks, those cracks will be back — and wider — by the time your next sealing cycle comes around. Every freeze-thaw season that works on an open crack accelerates the deterioration of the surrounding asphalt. Fill first, seal second, and both treatments last as long as they're meant to.
At Drivewave, crack filling is included in every sealing job at no extra charge. We assess every crack we find, apply the right treatment for its size, and let it cure before the sealcoat goes on. That's the only way to do it properly. If you're looking at cracks right now and wondering whether it's too late in the season to deal with them, give us a call and we'll tell you honestly.
Pricing: What Crack Filling Costs in Gatineau
Because we include crack filling in our all-in driveway service, you don't pay separately for the treatment. Our pricing is ~$0.70 per square foot, everything included — pressure washing, oil stain treatment, crack filling (rubberised or hot-rubber as needed), and sealcoat. The minimum job is $200, and driveways over 1,000 sq ft get a custom quote.
| Driveway size | Typical sq. footage | Approximate all-in price |
|---|---|---|
| Single-car | 200–350 sq ft | ~$200–$245 |
| Double-car | 400–650 sq ft | ~$280–$455 |
| Triple-car | 700–900 sq ft | ~$490–$630 |
| Large / estate | 1,000+ sq ft | Custom quote |
Want a ballpark for your specific driveway? The instant estimate tool gives you a number in under a minute. For an exact price, book a free on-site quote — we'll measure, assess the cracks, and give you a firm number with no obligation.